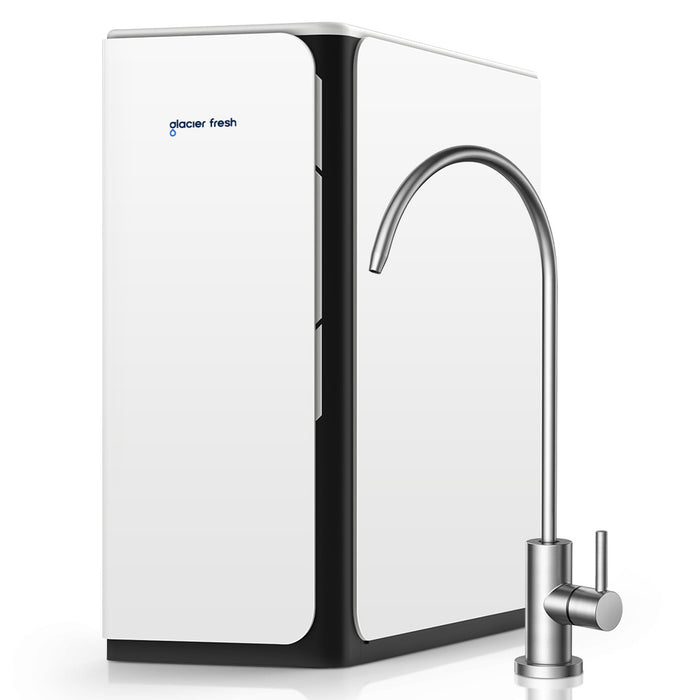
Unlock the Secrets to Perfectly Clean Water: Transform Your RO Filter Experience!
Clean water is essential for maintaining good health and well-being. With the increasing concerns about water quality, reverse osmosis (RO) filters have become a popular solution. These systems effectively remove impurities, ensuring that you and your family have access to safe drinking water. However, many users encounter issues with their RO systems that can affect performance and water quality. From unusual tastes to slow production rates, these problems can be frustrating. This article aims to provide valuable troubleshooting tips to help you tackle common issues with your RO water filter and ensure you enjoy perfectly clean water.

Common Issues with RO Water Filters
Many users experience a range of problems with their RO water filters. One prevalent issue is low water pressure, which can significantly reduce the system's efficiency. This often leads to inadequate water production, making it challenging to meet daily needs. Another common complaint is the presence of unusual tastes or odors in the water, which can indicate problems with the filter or the water source itself. Additionally, leaks are a frequent concern, often resulting from worn-out O-rings or improper installation. Lastly, some users find that their RO system produces water at a slower rate than expected, which can be both inconvenient and perplexing. Understanding these common issues is the first step toward effective troubleshooting.
Step-by-Step Troubleshooting Guide
Troubleshooting your RO water filter can seem daunting, but following a systematic approach can make the process easier. Start by checking the filters, as they play a crucial role in the system's performance. Filters should be inspected regularly for signs of wear, such as discoloration or a decrease in flow rate. Next, inspect the O-rings for any signs of damage or wear, as these can lead to leaks if not addressed promptly. Proper installation is also vital; ensure that all components are securely connected and that there are no kinks in the tubing. Additionally, measuring the water pressure is crucial. Low water pressure can hinder the RO system's ability to function effectively, so it's essential to adjust it if necessary. By following these steps, you can diagnose and resolve many common issues with your RO water filter.
Checking the Filters
Begin by turning off the water supply to your RO system. Remove the filters according to the manufacturer's guidelines and examine them closely. Signs of wear may include discoloration, visible debris, or a decrease in water flow. If you notice any of these issues, it’s time to replace the filter. Depending on the type of RO system you have, you may need to change the pre-filters, post-filters, or the membrane itself. Remember to keep a log of when you last changed the filters to stay on top of maintenance.
Inspecting for Leaks
Leaks can often be identified by listening for dripping sounds or noticing wet spots around your RO system. Start by checking the connections where the tubing meets the filter and storage tank. If you find any loose fittings, tighten them carefully. Also, inspect the O-rings for any signs of damage, such as cracks or tears. If you identify a damaged O-ring, replacing it can often resolve the leak. For persistent leaks, you may need to consult a professional to inspect the system more thoroughly.
Adjusting Water Pressure
To measure water pressure, you will need a pressure gauge, which can be easily attached to the water supply line. Ideally, the water pressure for an RO system should be between 40 to 60 psi. If your readings are below this range, consider adjusting the pressure using a pressure regulator or contacting a plumber for assistance. Proper water pressure is essential as it impacts the flow rate and efficiency of the RO system, ensuring you receive clean water promptly.
Maintenance Tips for RO Water Filters
Preventive maintenance is key to avoiding issues with your RO water filter. Regularly changing your filters is crucial; set a schedule based on the manufacturer's recommendations, typically every 6 to 12 months. Additionally, cleaning the system periodically can help maintain optimal performance. You can use a vinegar solution to clean the storage tank and tubing. Establishing a routine for inspecting O-rings and connections will also help you catch potential problems early. Lastly, practice good water usage habits to minimize strain on your RO system, ensuring it operates efficiently for years to come.
Ensuring Optimal Performance of Your RO Water Filter
In summary, troubleshooting and maintaining your RO water filter is essential for ensuring clean and safe drinking water. By understanding the common issues and following the step-by-step troubleshooting guide provided, you can effectively address problems that may arise. Remember, regular maintenance not only extends the life of your RO system but also enhances its performance. Take the time to apply these tips, and you'll be well on your way to enjoying perfectly clean water at home!


